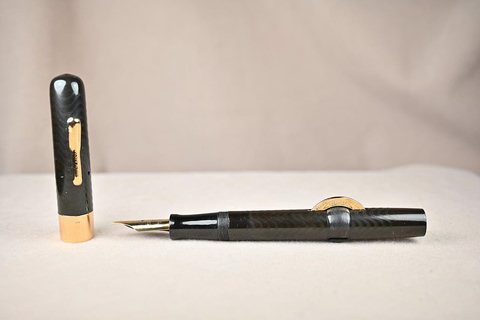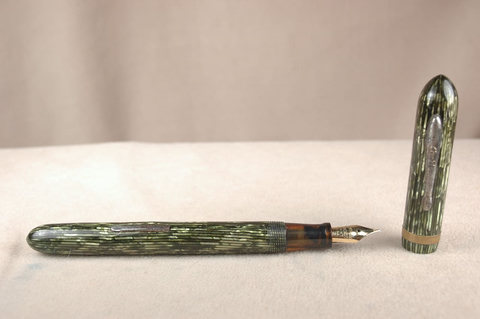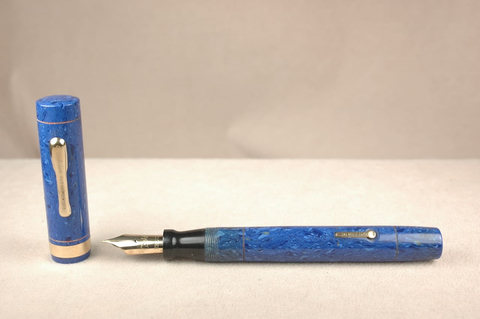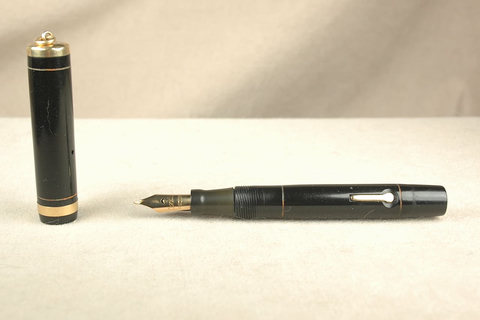
We are by no means done with the Decameron 2020 Project. However, I felt like getting back to pens for a posting. If you’ve been mostly coming for the storytelling, who knows, maybe you’ll get a kick out of a deeper dive into old fountain pens.
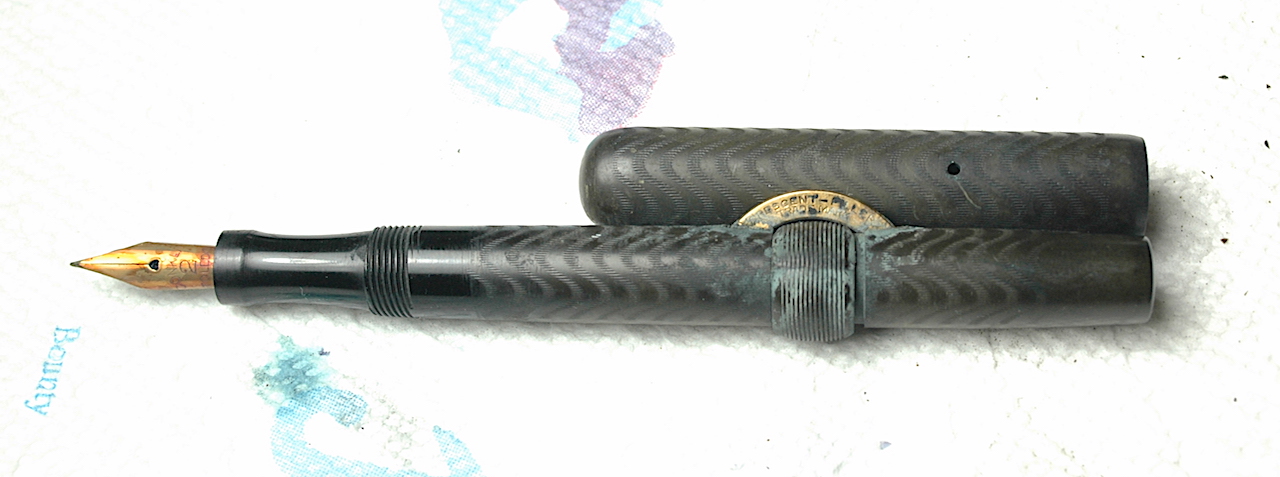
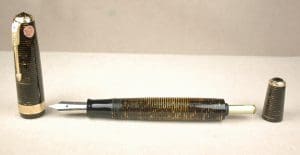
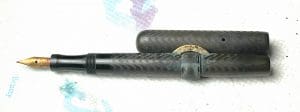
Here is a Conklin Crescent 2NL fountain pen in need of restoration.
Let’s look at one of the oldest “self-filling” fountain pen filling systems. In the earliest days of fillable fountain pens, any pen with a bladder or ink sac was considered self-filling. Before that you had dips and eyedroppers. Conklin invented the crescent filler in 1898. For as cumbersome as it looks, it was an insanely simple design. The pen is hollow like an eyedropper, but there is a rubber ink sac affixed to the nipple of the section. A crescent is fitted to a flat steel bar, and when the safety ring is rotated into the proper position, the crescent can be depressed, flattening the rubber ink sac within. The rubber ink sac wants to re-inflate, which fills the sac with ink and pushes the crescent back out of the barrel. Way less messy than an eyedropper, it was an instant hit. Even the famed American author Mark Twain was hired to be an advertising spokesman for the pen.
Don’t soak a Conklin hard rubber pen for very long, as it will discolor the old hard rubber. Be sure to get the water over the end of the section and on to the barrel threads.
If you already read our “How Do I Re-Sac a Vintage Pen” article, this isn’t very different. However, most of these pens are made from black hard rubber more than 100 years ago, and they are very brittle. You want to make sure you are pretty comfortable with restoring plastic/celluloid pens first. These early Conklins are getting much older and harder to find, and they break much more easily.
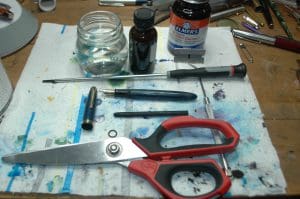
As with before, you will need some ink sacs, a pair of spark-plug/section pliers, a long dental pick, sac shellac or rubber cement, scissors that can cut through rubber ink sacs, a jar or cup, clean water, polish, a cloth rag, paper towels, a hairdryer, a razor blade and an ultra-sonic cleaner.
- Always start by soaking the nib in room temperature water over the threads of the barrel. Now the trick with old hard rubber is that water discolors it quickly. A shiny black will quickly turn to a chocolate brown haze. Don’t soak it for long, just enough to start to leech out old ink and maybe lubricate the friction fit of the section into the barrel. I certainly wouldn’t soak it for more than an hour. I’d probably soak it for much shorter a time.
- Next, remove the nib and section from the water and dry them off.
- Warm them up just a little with the hair dryer or heat gun. You only want them to be warm to the touch. Heat will also discolor the hard rubber. Plus, it can melt it.
-
Scrape the dead ink sac out of the barrel. Be sure to be especially careful shaving the ink sac remains off the section nipple.
Using your section pliers, gently grip and twist the section counter clockwise in an unscrewing motion. Sometimes it takes nerves of steel, patience and experience to discern the difference between the old ink sac inside the pen cracking and the barrel of the pen cracking. If the barrel cracks, you’ve likely killed the pen and made it nothing more than a parts donor.
- Once you get the section to start coming out, gentle, small wiggles can work it out without further stressing it from twisting. Very small wiggles. You can easily break the barrel, especially when the section looks as if it is almost out of the barrel. The more the section wiggles, the more it can act as a lever to crack the barrel. Some people choose the give the nib and section a sonic cleaning and others don’t. The sonic action can destroy the part if there is a crack already starting in it. More than 30 seconds to a minute will start discoloring the rubber. However, I’ve also found that pens this old often are filled with sediment-based inks that need something special like a sonic cleaning to remove the caked-in old ink.
- After the section is out, the rest is fairly easy. Scrape out all of the old ink sac from inside the barrel and very gently shave off the remaining sac on the nipple. Your razor can easily cut the nipple or cave in a wall of the nipple. Go super slow and easy with only small motions.
-
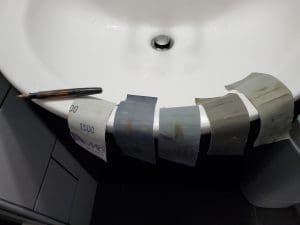
Polishing old hard rubber is difficult. You can wear away a lot of rubber very quickly, ruining imprints and chasing.
With everything cleaned out and disassembled, that is when I like to polish the pen and parts. You cannot go as rough on century-old hard rubber as you can plastics. I like to use MAAS metal polish on a soft terry cloth rag. Mostly I just give a light going over of the pen and cap with the polish and rag because both strip away the top layers of the rubber and can remove chasing and other imprints. It also removes some of the chocolate hazing. Using a Q-tip, I also polish the nib and crescent.
- Reinstall the crescent filler and lock it in place with the safety ring.
-
Dust the ink sac in talcum power to help preserve it.
Size and trim an ink sac that isn’t too snug inside the barrel. If you don’t have the crescent filler with the bar reinstalled first, you won’t get the proper fit.
- Use orange shellac to attach the sac to the section nipple.
- Dust the sac in pure talcum powder
- Very gently and slowly reinstall the sac and section into the barrel. This is another high-risk move that can crack the barrel so take it easy. You might even want to warm-up the barrel a bit.
Wait 24 hours for the shellac to dry before filling the pen. Then you are ready to write.
The finished pen should look much cleaner and be ready to write.